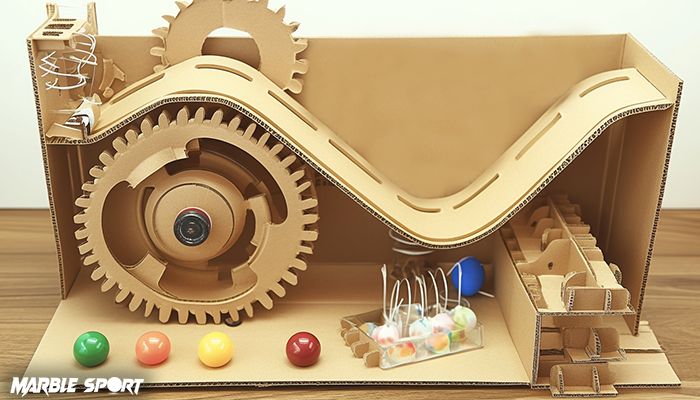
How to build a LEGO marble run? A complete guide!
LEGO marble runs are a fun and creative way to combine engineering, problem-solving, and play. Using LEGO bricks, you can design custom tracks with ramps, loops, and obstacles that challenge both your building skills and imagination.
What makes LEGO marble runs so popular is its versatility. With endless combinations of bricks and connectors, you can build everything from simple tracks to complex, multi-level designs. As part of the exciting world of marble sport, these DIY creations bring innovation and fun together.
Let’s dive into how to build a LEGO marble run step-by-step!
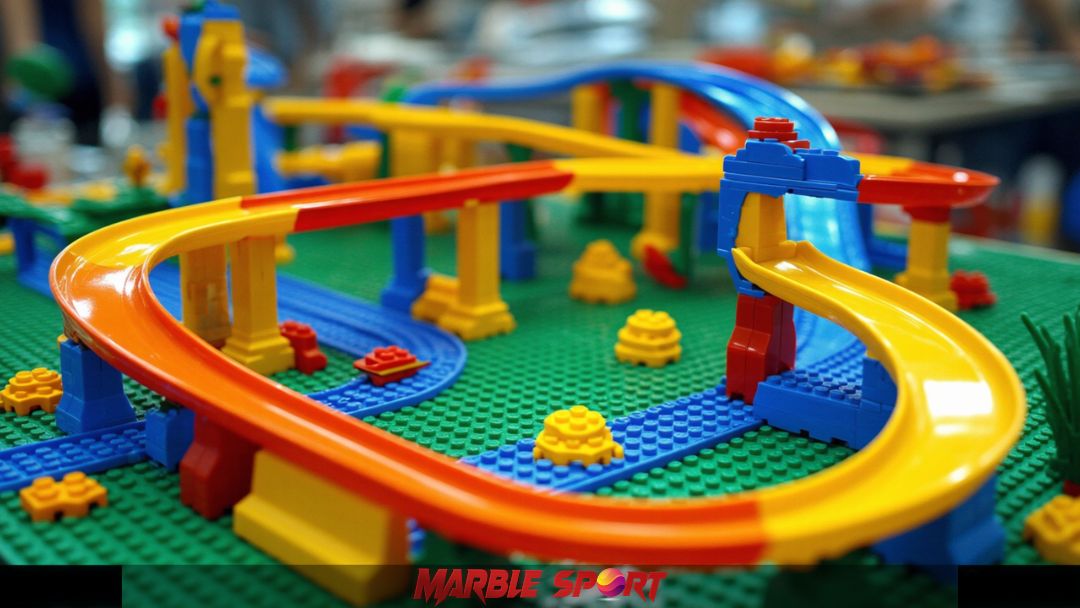
Necessary materials and tools
Building a LEGO marble run is all about having the right pieces to create smooth tracks, exciting obstacles, and sturdy structures. The beauty of using LEGO is its flexibility and customization, allowing you to build and rebuild until your design is perfect. If you’re wondering where to buy marble run, there are plenty of options available to get you started.
Essential LEGO bricks for tracks
To create a functional marble run, focus on LEGO pieces that form tracks and paths
- Straight pieces: Perfect for long runs and connecting sections.
- Slopes and ramps: Add height variations for speed and momentum.
- Curved bricks: Help create turns and smooth transitions between sections.
- Connectors and hinges: Allow for moving parts, adjustable angles, and dynamic features like swings or levers.
Having a variety of shapes and sizes ensures you can design loops, spirals, and drops to keep the track exciting.
Marbles or balls
Not all marbles work with LEGO builds, so it’s important to choose the right size
- Standard marbles (14 – 16 mm): Fit well in larger tracks and ramps
- Smaller balls: LEGO-compatible balls or small beads can be used for tight tracks or smaller setups
Tip: Test different weights and sizes to see how they perform on slopes and obstacles. Heavier marbles tend to roll faster, while lighter ones may work better for loops and jumps.
If you’re experimenting with differen speeds, check out this slow marble run building guide to adjust your design accordingly.
Optional extras for customization
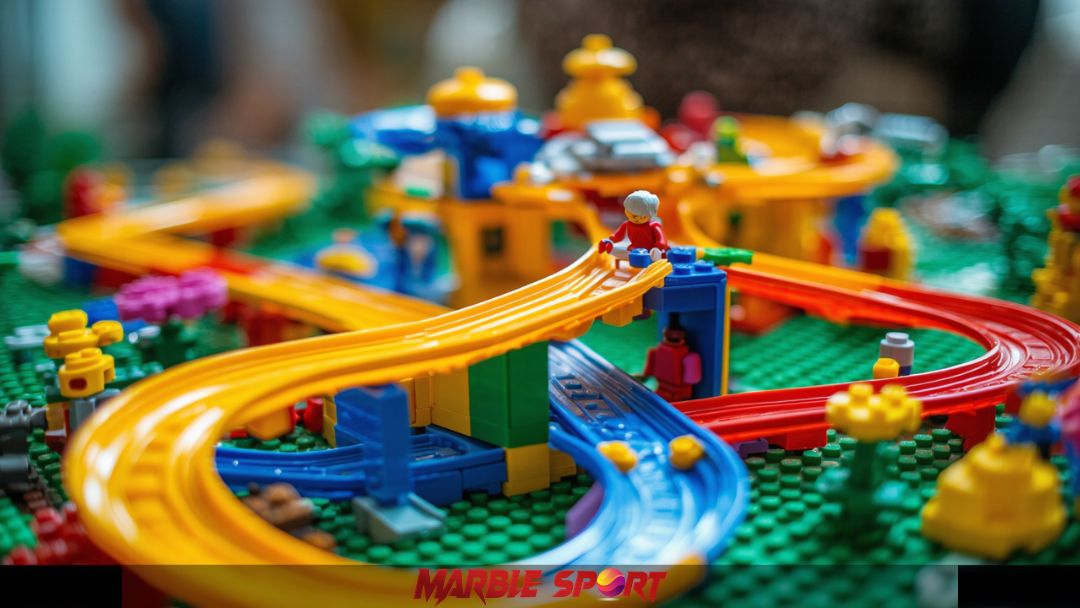
Add some personality and flair to your marble run with these fun extras
- Decorative pieces: Use colored bricks, flags, and signs to make the design pop
- Mini-figures: Create a theme with LEGO characters cheering from the sidelines.
- Barriers and gates: Guide the marbles and prevent them from falling off the track
- Timers or sensors: Integrate fun features for races or challenges if you want to take it to the next level.
Custom touches not only make the track visually appealing but also add an extra layover of fun and engagement.
Advanced LEGO pieces for complex designs
For more stability and movement, consider using LEGO
Technic pieces:
- Gear and Axles: Add spinners, wheels, or moving obstacles.
- Brackets and beams: Provide stronger supports for multi-level designs
- Motors and sensors: Introduce automated features for lifts or moving parts
These pieces are great if you want to push the engineering side of your marble run and experiment with mechanical elements.
Final tip: Start simple then expand
It’s easy to get carried away with ideas, but starting with a basic design lets you test concepts and see what works. Once the foundation is solid, you can always add features and upgrades to make your LEGO marble run more exciting and dynamic.
When designing a run for younger builders, considering what age group is marble run suitable for ensures the setup remains both fun and safe.
With your materials ready let’s move on to the building process and bring your ideas to life!
Step-by-step guide to building a LEGO marble run
This step-by-step guide on how to build a LEGO marble run will help you bring your ideas to life
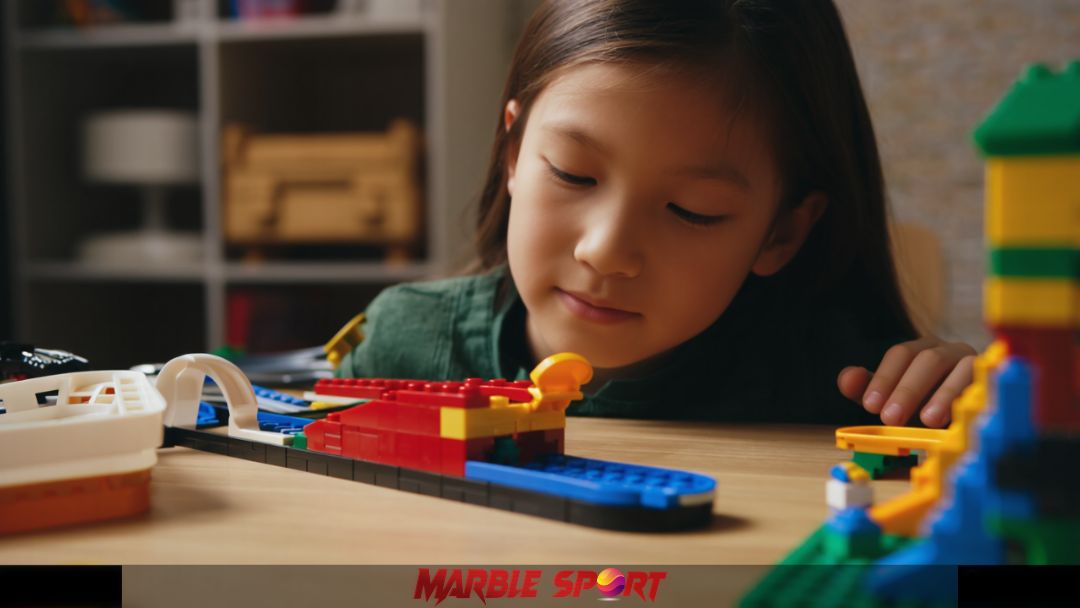
Step 1: Plan the design
Start with a clear plan before building
- Sketch your layouts: Draw a rough design showing ramps, slopes, drops, and obstacles.
- Decide the features: Think about adding loops, jumps, spirals, or funnels for extra excitement.
- Set the goals: Are you aiming for speed, obstacles, or a long-lasting run?
Tip: Planning saves time and helps avoid structural issues later. I also find sketching designs spark new ideas along the way.
Step 2: Building the base and supports
A strong foundation is key to keeping the track stable
- Create a solid base: Use large LEGO plates or bricks as the base
- Add vertical supports: Stack bricks or use Technic beams to add height and create multiple levels.
- Test stability: Shake the base slightly to ensure it won’t wobble during races.
Tip: Taller support makes the run more exciting, but ensure the structure is reinforced to prevent tipping over.
Step3: Construct tracks and ramps
Now, it’s time to build the path for your marbles
- Design slopes and drops: Use angled bricks or sloped plates to guide marbles down the track
- Smooth transition: Connect ramps and curves seamlessly to avoid bumps or sticking points.
- Add rails and barriers: Use flat tiles or walls to keep marbles from falling off the track
Tip: Test small sections as you build to make sure the marbles roll smoothly before moving forward.
Step4: Add features and obstacles
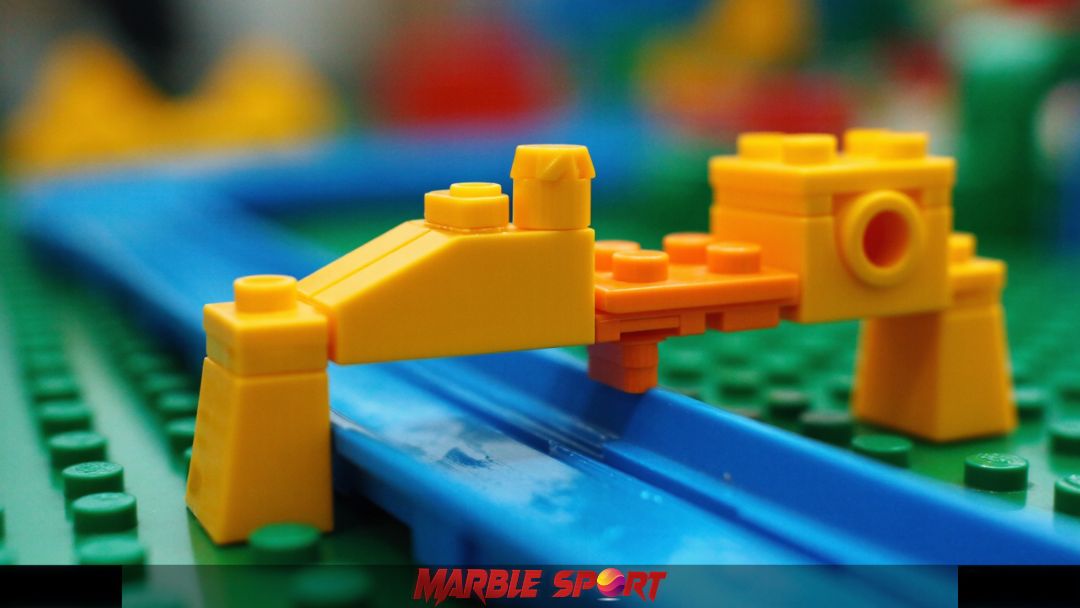
Make your marble run more dynamic and fun with creative features:
- Funnels and spirals: Create swirling sections to slow marbles down before speeding them up again
- Jumps and gaps: Test marbles’ momentum with jumps between sections
- Spinners and moving parts: Use Technic gears or axles for interactive features.
Tip: Adding obstacle keep the design challenging and unpredictable, making the run more exciting to watch.
Step5: Test and adjust
No build is perfect the first time – testing and fine-tuning are essential.
- Check the flow: Roll marbles through the track to spot slow areas or places where they get stuck.
- Adjust angles and heights: Increase slopes for speed or flatten sections for control.
- Reinforce weak spots: Tighten connections or add extra supports to improve stability.
Tip: Try marbles of different sizes and weights to see how they perform – heavier marbles often move faster, while lighter ones have better precise paths.
Building a LEGO marble run is as much about experimentation as it is about design. Start with a basic layout, test your ideas, and keep improving as you go. With LEGO’s versatility, you can always rebuild and upgrade, making the process just as fun as the final result!
Final thoughts
Building a LEGO marble run is a fun and rewarding project that blends creativity, engineering, and problem-solving into one engaging activity. From sketching your design to adding exciting features like funnels and jumps, every step allows you to experiment and learn while having fun.
The best part? LEGO marble runs are endlessly customizable. You can keep expanding, testing, and improving your design, turning it into a dynamic and evolving creation.
So grab your LOGO bricks, get creative, and start building your very own LEGO marble run today!
FAQ about build a Lego marle run
Is marble run Lego compatible?
Yes, LEGO can be used for marble runs if the marbles are the right size (around 14–16 mm). Use slopes, curves, and Technic parts for best results.
How to build a LEGO marble run easy?
Start with a single ramp using LEGO slopes and base plates. Gradually add curves and test with small marbles.
How to create a LEGO marble run PDF guide?
You can find free printable guides online or create your own by sketching step-by-step instructions based on your build.
How do you make a LEGO marble run more exciting?
Add obstacles like jumps, spinners, spirals, and themed decorations. Use Technic pieces for moving parts or motorized features.
