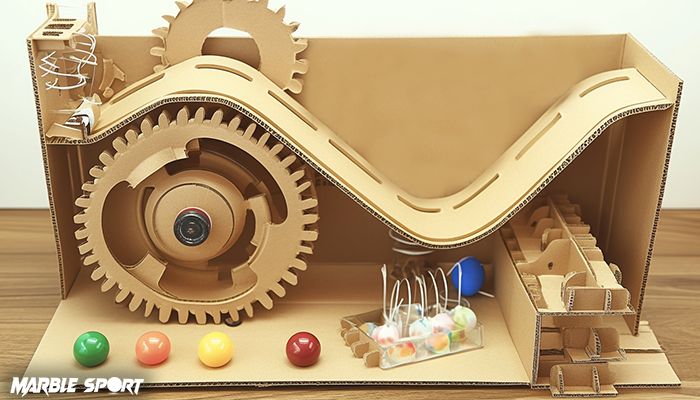
Do it yourself marble run: Easy steps to build
A do-it-yourseft marble run is a fun and creative project that combines building, experimentation, and excitement. It offers endless design possibilities, from simple tracks for kids to complex challenges for enthusiasts. Beyond entertainment, constructing a marble run enhances problem-solving skills, critical thinking, and creativity.
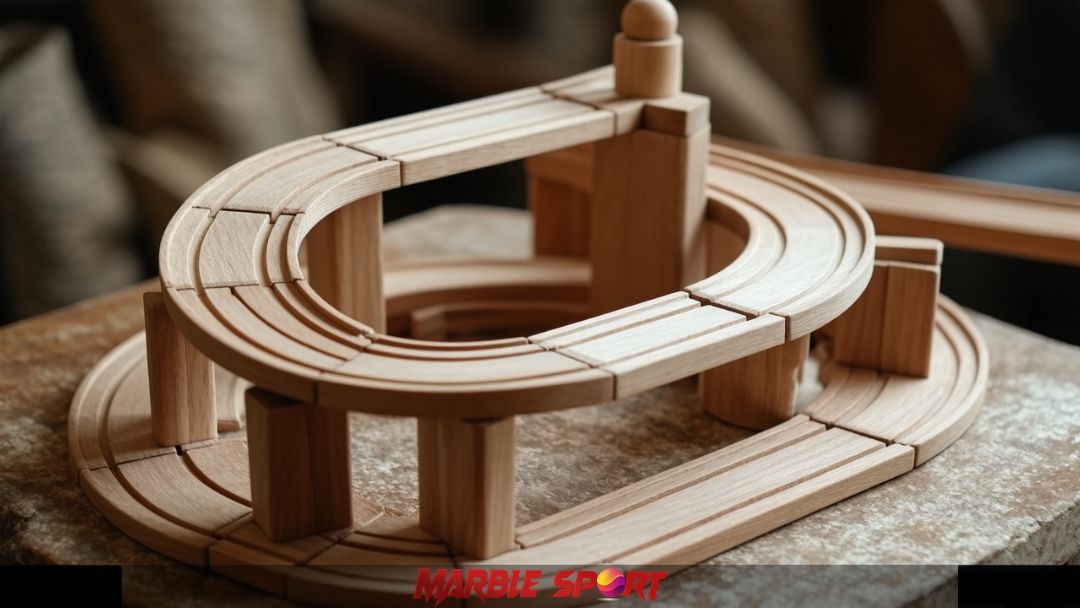
If you’re ready to get creative and build something unique, this guide will walk you through everything you need to know to make your DIY marble run. Let’s get started with marblesport.com!
Planning your do-it-yourself marble run
Before you start building, planning your DIY marble run is key to making it both functional and exciting. Taking a little time to organize your ideas will save you headaches later and help bring your vision to life.
Set your goals
Think about the purpose of your marble run. Are you building it purely for fun, as a learning tool, or for competitive races?
- Fun and creativity: Focus on colorful designs, loops, and surprising twists.
- Learning STEM project: Incorporate physics concepts like gravity, speed, and angles. Learn more about how to marble runs work.
- Competition and racing: Add features like timed zones, checkpoints, and finish lines to track performance.
Setting clear goals will guide your design and material choices. If you’re looking for an exciting challenge, check out how to make the slowest marble run.
Sketch the design
Grab a pen, and paper, starting sketching your layout. Map out key features like ramps, tunnels, drops, and obstacles to give your run variety and flow.
- Include height variations to add speed.
- Plan curves and loops to keep it challenging.
- Leave room for adjustments, you will likely tweak things as you test it.
I find it sketching helps spot potential issues early and keeps me organized when building. It also makes the whole process feel more like an engineering project, which adds to the excitement.
Pick a theme (Optional)
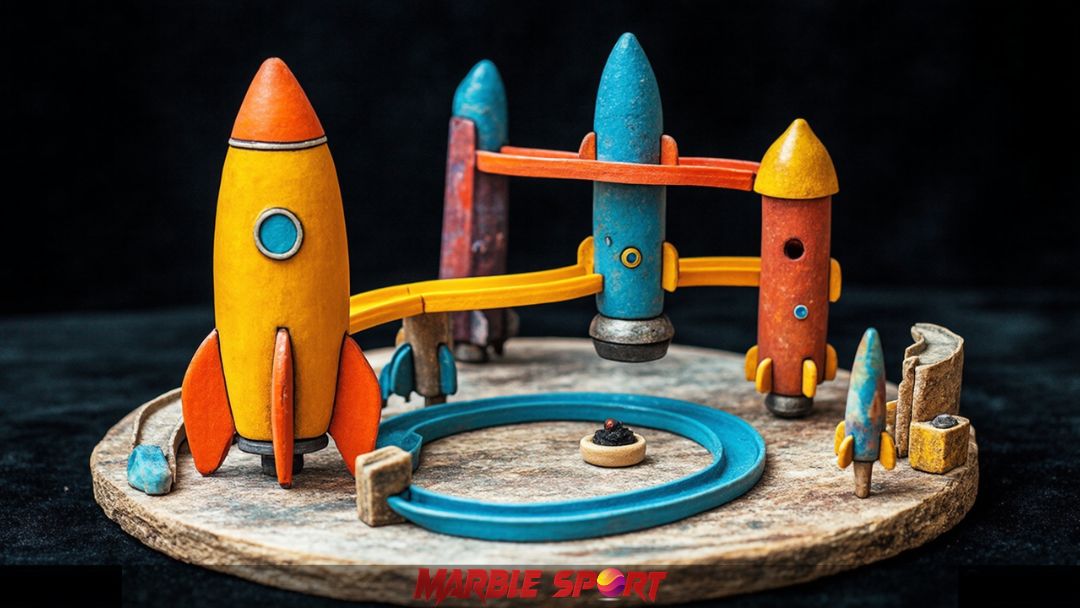
Adding a theme can make your marble run more engaging, especially for kids. Whether it’s a space adventure with planets or tunnels or a rollercoaster ride with steep drops, themes turn the track into more than just a run, they make it a story.
If you’re working with building blocks, explore how to build a LEGO marble run for extra inspiration.
Decorations like paints, stickers, and props can take your design to the next level without affecting performance.
Enjoy the planning process
Planning does not just make the build easier – it’s part of the fun. It’s a chance to brainstorm ideas, get creative, and imagine how marbles will move through your design. Don’t rush it, take time to experiment and explore possibilities before committing to your final plan.
Required materials and tools
Creating a DIY marble run does not require expensive materials – just a mix of household items, recycled materials, and a few basic tools. Here’s a closer look at what you will need.
Household items for easy builds
Start by looking around the house – You would be surprised how many everyday items can be repurposed onto marble tracks:
- Cardboard boxes and shoeboxes: Perfect for bases, tunnels, and ramps.
- Paper towels and toilet paper rolls: Great for creating curves and tubes.
- Pool noodles: Lightweight and flexible, ideal for slopes and curves.
- Plastic cups and bowls: Useful for funnels or catch basins at the end of the track.
These materials are easy to work with and allow for quick assembly, making them ideal for beginner’s or kids’ projects.
Recycled Materials for Eco-Friendly Designs
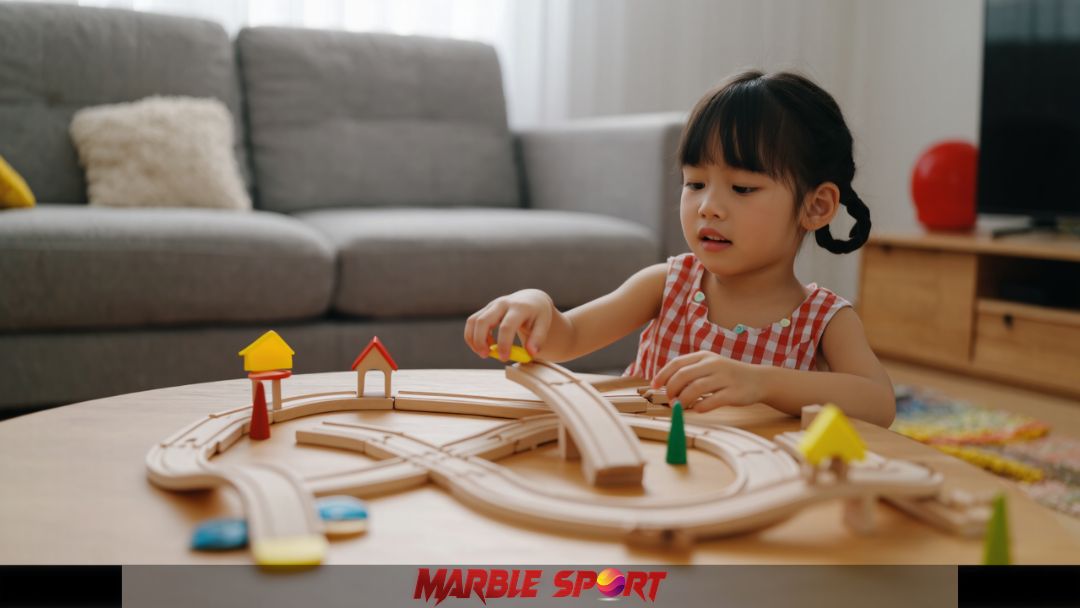
If you are looking for a budget-friendly and sustainable approach, recycled materials can make your marble run stand out:
- Plastic bottles and tubes: Cut into sections to create slides and drops.
- Boxes and containers: Provide structure and elevated levels for ramps.
- Old toys or building blocks: Repurpose parts for supports and obstacles.
Using recycled materials not only saves money but also reduces waste, making your DIY project more eco-friendly.
Craft supplies for assembly and decoration
No marble run is complete without the right tools and finishing touches. Stock up on these essentials:
- Glue or hot glue guns: For sticking parts together surely.
- Tape (Duct, masking, double-sided): Ideal for temporary fixes and holding ramps in place.
- Scissors and box cutters: For cutting shapes and trimming edges.
- Markers, stickers, and paint: Add colors and themes for a personalized look.
These supplies help you secure connections and decorate designs, tuning a basic build into something truly unique.
Advanced materials for durable builds
If you want a sturdier or long-lasting marble run, consider these materials:
- PVS pipes and connectors: Smooth and durable, perfect for adventured layouts.
- Wooden pieces: Great for frameworks and elevated supports.
- 3D-print parts: For custom features, like loops, jumps, and complex curves.
These materials are perfect for hobbyists or anyone looking to level up the designs with professional-grade components.
Pro tip
Combining different materials often leads to the most creative and durable designs. For example, using cardboard for the base, pool noodles for slopes, and PVC pipes for precision sections can give your marble run both flexibility and stability.
Step-by-step to build a DIY marble run
Building a do-it-yourself marble run is all about creativity, problem-solving, and hands-on fun. Follow these detailed steps to turn your ideas into a functional and exciting track.
Step 1: Build the base
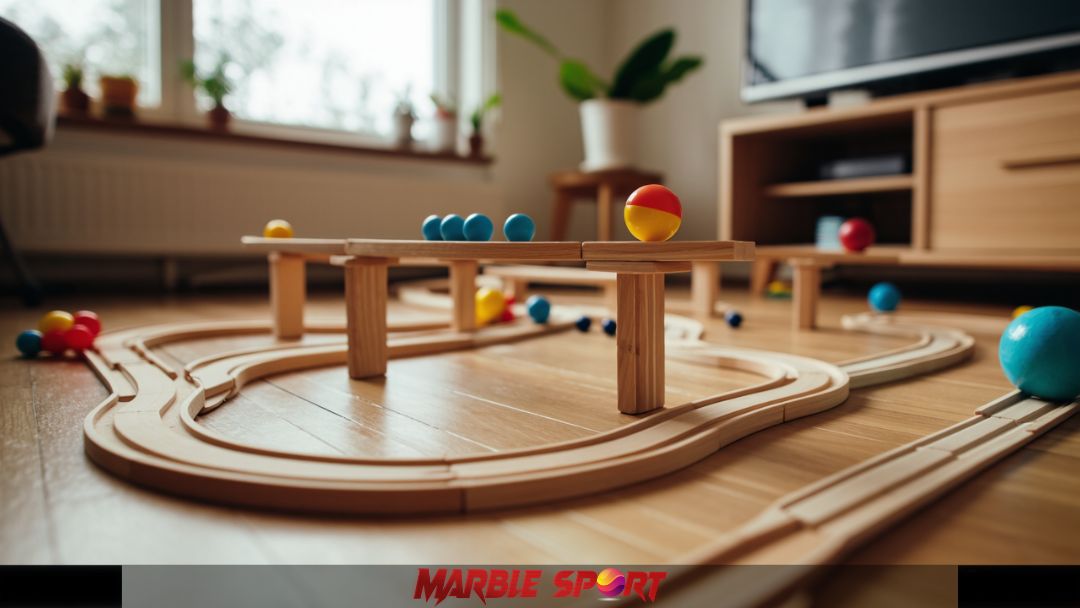
Start with a sturdy foundation to keep your marble run stable.
- Choose a base material: Use cardboard, wood, or a large flatboard as a base. For wall-mounted designs, tape or glue pieces directly on the vertical surface like a door or poster board.
- Add support: Create vertical supports using toilet paper rolls, plastic tubes, or stacked boxes. Make sure they’re firmly secured with glue or tape.
- Test stability: Shake the bases slightly to check if it wobbles. Reinforce any weak areas before moving forward.
Tip: If you’re building a tall design, position heavier materials at the bottom for better balance.
Step 2: Add tracks and features
Now, bring the marble run to life by adding paths and obstacles.
- Create ramps and slides: Cut cardboard strips, pool noodles, or PVC pipes into slopes and fasten them securely.
- Add tunnels and spirals: Use paper towel rolls or plastic tubes to create enclosed paths or spirals.
- Incorporate obstacles: Add spinners, jumps, and barriers for excitement and unpredictability.
- Connect sections smoothly: Use tape or glue to join parts, ensuring seamless transitions so the marble doesn’t get stuck.
Pro tip: Test each section as you build to catch problems early and keep the marble rolling smoothly.
Step 3: Test and adjust
Once your track is assembled, it’s time to test and troubleshoot.
- Marbles run through the track: Watch closely to see if marbles slow down, jump off, or stop completely.
- Check angles and slopes: Adjust steepness to control speed – too steep, and marbles may fly off, too shallow, and they may stall.
- Fix loose connections: Reinforce weak spots with extra glue or tape for added stability.
- Experiment with different marbles: Test various sizes and materials to see how they perform. Heavier marbles may roll faster, while lighter ones may be slower but more controlled.
Personal insight: Testing is my favorite part because it often sparks new ideas for improving the design – sometimes mistakes lead to unexpected features that make the track even better.
Step 4: Decorate and customize
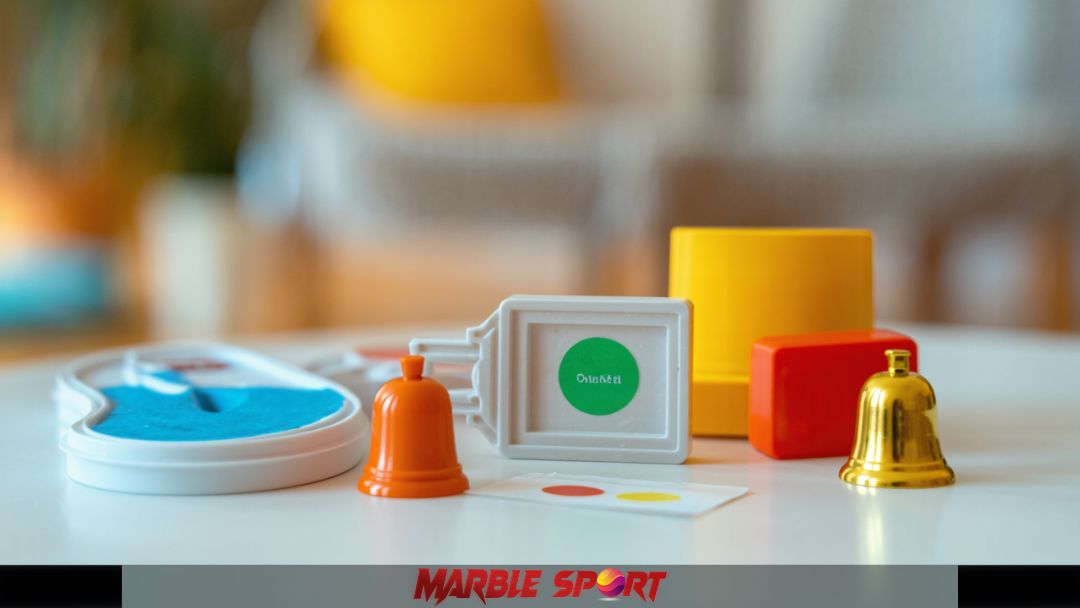
Make the marble run visually exciting and one-of-a-kind with fun decorations.
- Choose a theme: Go for a space theme with planets and stars or a jungle theme with vines and animals.
- Add color and patterns: Use paint, markers, or stickers to make the track stand out.
- Mark the checkpoint and finish line: Label section to make racing more competitive and organized.
- Include interactive features: Add bells, flags, or spinning wheels to create more motion and sound effects.
Tips: Customizing your design does not just make it look better – it also adds personality and turns it into a centerpiece for display or competitions.
Final adjustment
Once the marble run is decorated, do a final round of testing and tweaking. Make sure all pieces are firmly in place, test various marble sizes, and adjust angles if needed.
With everything set, the do-it-your-self marble run is ready for action! Enjoy the results of your creativity and effort.
Ideas to make it more exciting
Once the DIY marble run is built, it’s time to make it to the next level. Adding layers, obstacles, and interactive features can make your design more fun, challenging, and visually impressive. Here are some creative ideas to keep your marble run exciting.
Multi-level design
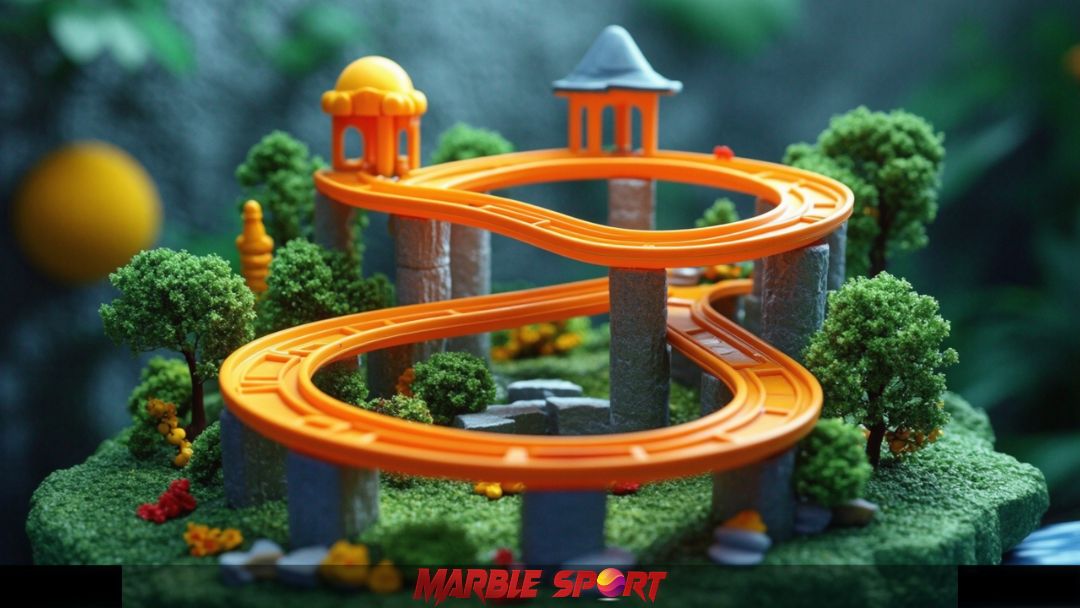
Building multiple levels adds speed, complexity, and visual appeal to the track.
- Create drops and ramps between levels to add momentum.
- Use stacked boxes or supports to create height variations.
- Incorporate bridges and crossovers to make the layout dynamic.
Tip: A taller track not only looks cooler but also gives marble more time to build up speed, making the races more thrilling.
Obstacles and challenges
Add obstacles to keep things unpredictable and exciting
- Spinners and wheels: Marbles can activate rotating elements as they pass
- Loops and jumps: Test your design skill with challenging features that push marbles to defy gravity
- Funnels and spirals: Add suspense as marbles spiral down before continuing the track.
These features are not just impressive – they also test the physics and flow of your marble run,
Timed races and competitions
Turn the marble run into a game by introducing race and time trials.
- Add checkpoints and finish lines to track progress.
- Use a stopwatch or phone timer to time each run and keep scores.
- Organize tournaments with friends or family and award prizes for the fastest times.
I’ve found that adding a competitive element keeps everyone engaged and turns a simple activity into hours of friendly fun.
With these ideas, your DIY marble run can evolve from a simple track into a complex masterpiece full of excitement, challenges, and endless possibilities. So start experimenting, and let the marbles roll!
FAQ about DIY marble run
What materials can I use for a homemade marble run?
Cardboard, paper rolls, plastic bottles, pool noodles, and tape work great.
How to make a marble run with paper?
Use paper towel rolls, folded paper strips, and tape to create ramps and tunnels.
How do I make a marble run more challenging?
Add loops, jumps, spirals, and moving obstacles like spinners.
What are fun add-ons for a DIY marble run?
Funnels, sound effects, spinning wheels, and finish-line flags.
