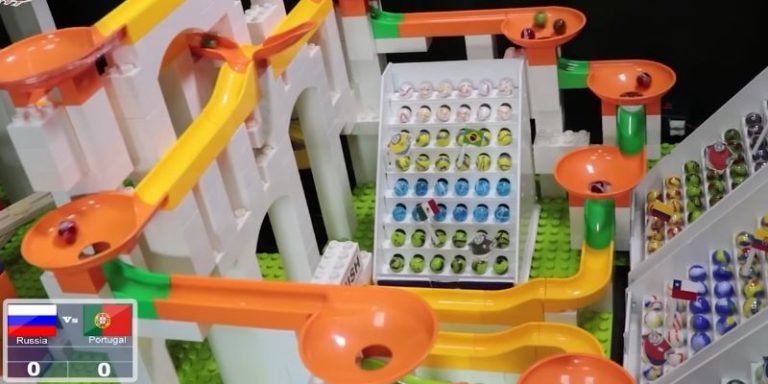
How to make a marble racing track: Fun and Creative Guide
Marble racing has transformed from a simple childhood game into an exciting hobby and competitive sport, captivating fans worldwide. Whether watching intense competitions like the Marble League or designing DIY tracks, the thrill of marbles speeding through twists and loops is undeniable.
Building a custom track offers endless creative possibilities, allowing you to experiment with designs, master obstacles, and explore the physics behind the race while learning how to make a marble racing track that delivers high-speed excitement. For those passionate about the sport, Marble Sport is the ultimate destination for everything marble racing.
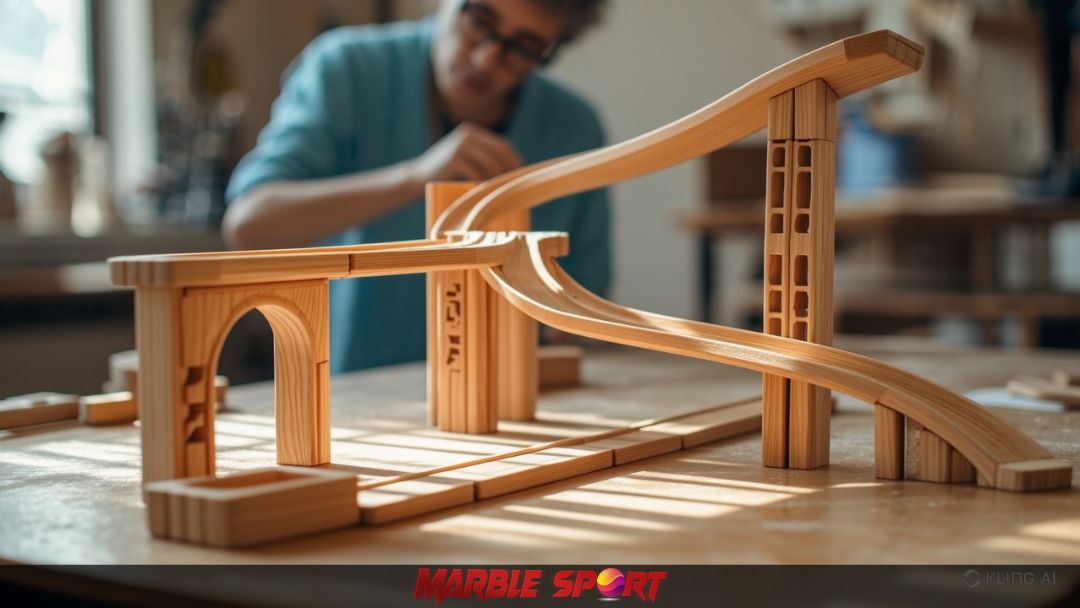
What I love the most about making marble tracks is that it’s not just for kids. It’s a hands-on project that anyone can enjoy. It’s as much about the process as it is about the races themselves.
So, if you’re ready to bring your ideas to life and create a track that’s as unique as your imagination, let’s dive into how to make your very own marble racing track!
Planning your marble racing track
Before you start building, it’s important to have a solid plan for your marble racing track. A little preparation can make a big difference in how smooth, exciting, and creative your final design turns out. Let’s break it down step-by-step.
Choose a theme or style
Deciding on a theme is the first step to bringing your track to life. Do you want a classic racing circuit with sharp turns and speed boosts? Or maybe a jungle adventure with tunnels and bridges? Themes like space exploration, rollercoasters, or even obstacle courses can make the track more exciting and visually appealing.
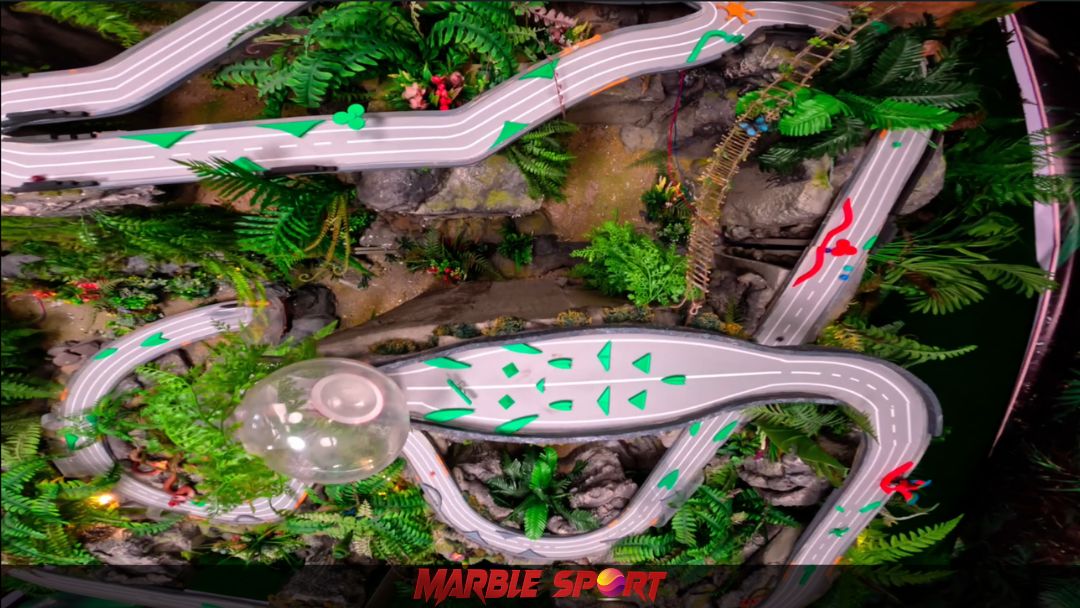
In my case, I’ve found themed tracks to be a great way to keep things interesting, especially with your plan to host races with friends or family. They make the experience more immersive and fun.
Set your goals
Think about what you want your track to focus on:
- Speed: High slopes and long ramps for fast-paced action.
- Obstacles: Spirals, jumps, and barriers to challenge the marbles.
- Creativity: Complex designs that are stunning and unpredictable.
Deciding this upfront will help guide your design choice and keep the process organized.
Gather inspiration
If you’re not sure where to start, check out pre-made marble runs or DIY designs online. Sites like YouTube are packed with ideas, ranging from simple homemade tracks to elaborate, multi-level setups. Watching these can spark ideas and show you what’s possible with different materials and layouts.
I often look at professional setups like Mabula One’s themed tracks to see how they handle curves and slopes. It’s amazing how much you can learn just by watching marble races!
Materials you need
Building a marble racing track does not require expensive tools or materials. In fact, you can make an expensive track using simple, everyday items combined with a bit of creativity. Here’s a breakdown of what you need to get started.
Basic supplies
Your base materials will determine the structure of your track. Popular choices include:
- Cardboard: Affordable and easy to cut, great for ramps and tunnels.
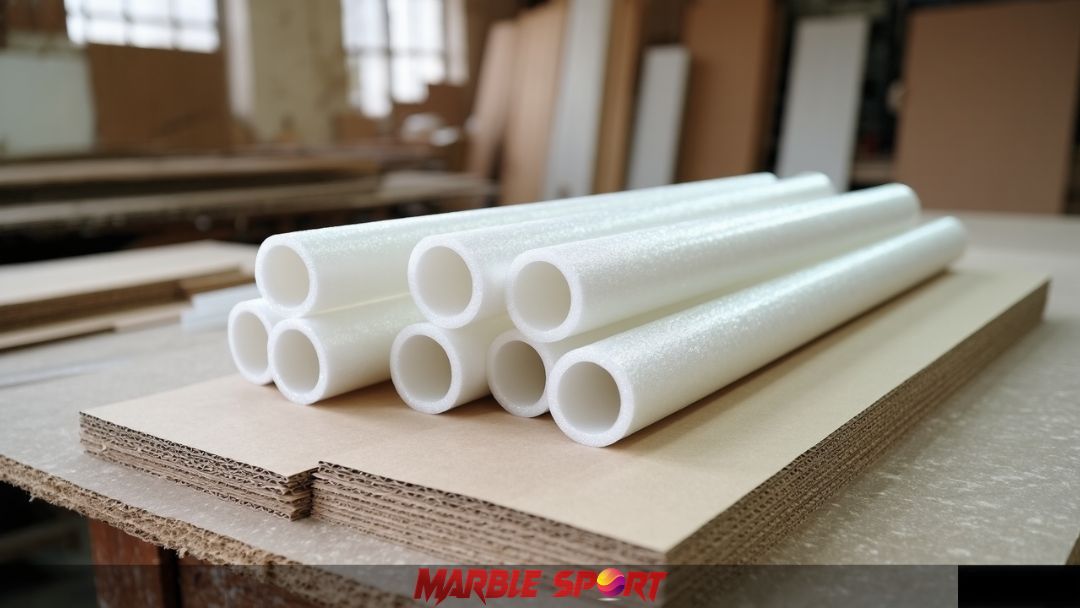
- Foam tubes or pool noodles: Lightweight and flexible, ideal for curves and slopes.
- PVC pipes or plastic tubing: Durable and smooth, perfect for long runs and spirals.
- Wooden planks: Sturdy and reusable, great for larger, permanent tracks.
Each material has its strengths, so pick what fits your design and budget. I’ve found foam tubes to be super versatile, especially for making twists and sloops without much hassle.
Track connectors and supports
To hold your track together and keep it stable, you’ll need:
- Glue or hot glue guns: For securing pieces in place.
- Tape (Masking or duct tape): Perfect for adding strength to larger structures or vertical sections.
- Rubber bands or zip ties: Handy for flexible joints and temporary holds during testing.
Don’t underestimate the importance of strong connectors, tracks that wobble can ruin a good race!
Decorative elements
Adding decorations not only makes your track look cool but also creates themes that enhance the experience.
Consider:
- Paint and markers: For colorful designs and racing lanes.
- Stickers and labels: Great for making checkpoints and finish lines.
- Barriers and fences: To keep marbles on track during sharp turns or jumps
Small details like these can make your track stand out, especially if you’re planning to record races or share them online.
Optimal tools
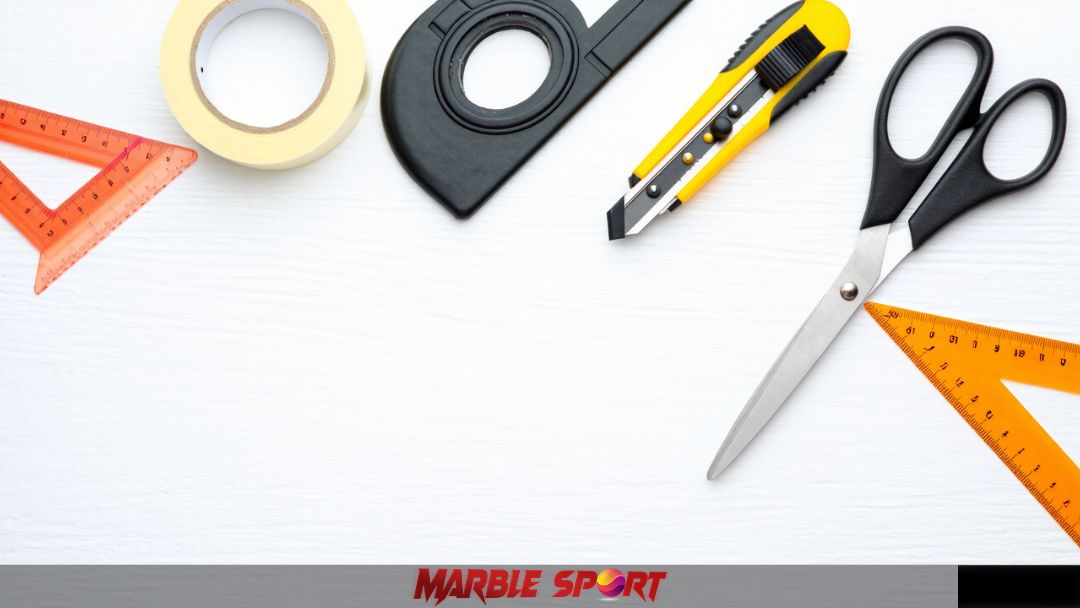
While basic tools like scissors and tape might be enough, having the following can make the job easier:
- Box cutters: For precise cuts in cardboard or foam.
- Measuring tape or ruler: Ensures even spacing and straight lines.
- Clamps or Clips: Useful for holding sections in place as glue dries.
With the right materials and tools, you’re all set to bring your design to life. The key is to start simple and build up as you go. Now that your materials are ready, let’s dive into assembling the track!
Building the track
Now comes the exciting part, bringing your marble racing track to life! Building the track is where creativity meets engineering, and each step plays a role in making sure your marbles run smoothly and keep the action thrilling. Let’s break it down step-by-step.
Step1: Design the layout
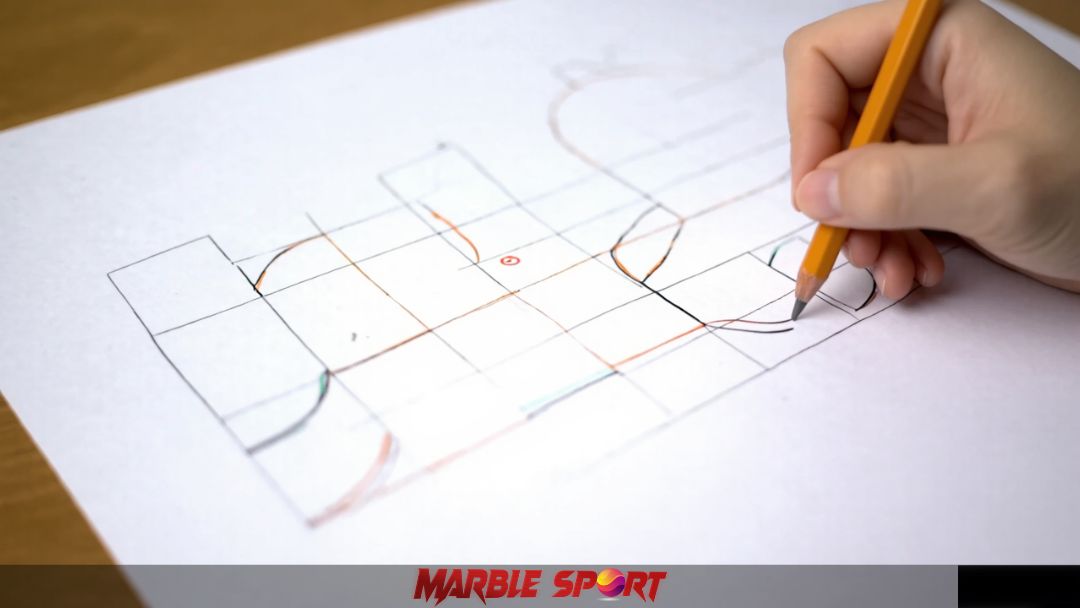
Not all marbles perform the same on racing tracks, as their weight, size, and material affect speed and control. If you’re curious about which marbles are best suited for racing, check out what are marbles in marble racing to understand how different types influence performance. Once you’ve chosen the right marbles, start by sketching your track on paper, thinking about how they will navigate fast slopes, spirals, jumps, or twists. Map out key features like:
- Ramps for speed boosts.
- Loops for excitement.
- Obstacles for added challenges.
Don’t worry about making it perfect. This is just a blueprint to help guide your build. I find this step most fun because you can dream big before cutting and assembling pieces.
Step2: Assemble the framework
A solid foundation is key to a smooth track. Start by building the base and vertical supports using sturdy materials like wooden planks, cardboard stands, or PVS pipes.
Ensure the framework is stable and balanced to avoid wobbling during races.
Use brackets, glue, or clamps to hold everything securely.
Pro tip: Build the section you can adjust and expend easily as you test the track.
Step3: Build slopes and curves
This is where your track starts taking shape. Create slopes for speed and curves for twists, making sure the transitions are smooth so marbles do not get stuck.
Use foam tubes or pool noodles for flexible curves. Add rails or barriers to keep marbles from rolling off the sides.
Adjust the angle to control speed. Steeper slopes are for faster runs, and gentler ones are for slower, more controlled races. Smooth rolling is the goal, so test each section as you build.
Step4: Add obstacles and features
Make your track exciting by adding interactive elements:
- Tunnels and funnels: Create suspense as marbles disappear and reappear.
- Jumps and gaps: Add drama and unpredictability.
- Spirals and drops: Keep the action going with sudden twists and turns.
Adding these features not only makes the track more thrilling but also adds layers of challenge to test different marble’s performance.
Step5: Test and adjust
Testing is the secret to a great track. Roll marbles through each section to check smoothness and flow. Look out for:
- Stuck marbles: Smooth out rough edges or widen paths.
- Slower section: Add a steeper slope or reduce friction
- Unstable parts: Reinforce supports or tighten connections.
Keep testing and tweaking until you’re happy with the results. This step might take time, but it’s worth the effort to create the track the both fun and reliable.
With the track fully built and tested, you are ready to race! The next step is customizing the fine-tuning your design to make it truly stand out. Let’s keep going!
Customizing your track
Once your marble racing track is built, it’s time to make it stand out! Customizing your track adds personality, excitement, and even a competitive edge. Whether you’re going for style or functionality, small touches can make a big difference. Here’s how to level up your track.
Add themes and colors
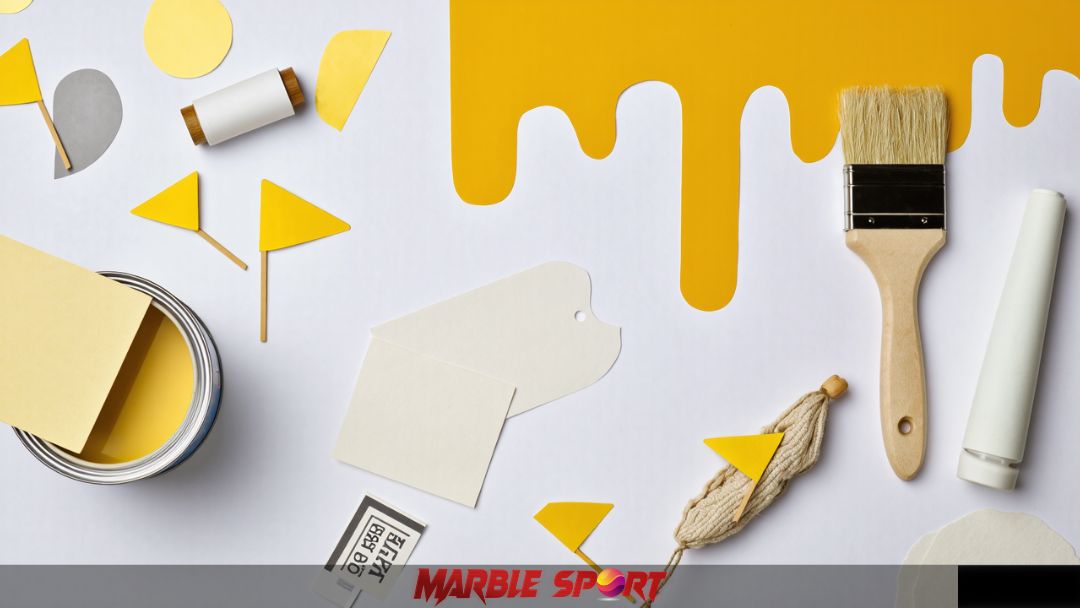
Personalize your track with paints, stickers, and decorations to match a theme. Whether it’s a space adventure, jungle safari, or a Formula One-style racetrack, themes can make the track visually engaging and fun.
Use bright colors to highlight ramps and obstacles.
Add flags, banners, or crowd cutouts for a stadium feel.
Label starting points, checkpoints, and finish lines to make the race more official.
I love how a well-themed track transforms the experience—it’s not just a race, it’s a story unfolding!
Create a section for racing challenges
Turning your track into more than just a straight run by adding racing challenges.
- Time Zones: Create areas where players can time marbles as they pass through.
- Checkpoints: Add a marker to track progress and introduce lap-based racing.
- Finish lines: Use clear markers or flags to make the winner’s moment feel special.
These additions not only boost competition but also make it easier to keep track of results during tournaments.
Incorporate special effects
Take your track to the next level by adding interactive features and special effects:
- Lights and LEDs: Light up tunnels and checkpoints for a cool visual effect.
- Sound effects: Add buzzers or bells that activate when marbles hit certain spots.
- Spinning elements: Use rotating wheels or spirals to create movement and unpredictability.
Special effects add flair and excitement, making the track feel professional and entertaining for both racers and spectators.
If you’re interested in learning how marble racing has developed into a structured sport, is marble racing a sport? offers insights into competitive racing formats.
Small touches that make a big impact
Sometimes, it’s the smallest details that leave the biggest impression. Custom flags, miniature signs, or even tiny figurines cheering from the sidelines can bring your track to life.
In my experience, these little extras make the track more engaging, especially if you’re hosting races with friends or sharing videos online. It’s those finishing touches that make people say, “Wow”!
With your customizations in place your marble racing track will look as amazing as it performs. Now it’s time to test it out, fine-tune the details, and get ready for some epic races!
Test, racing, and perfecting your marble track
Now that your marble racing track is built and customized, it’s time to test, fine-tune, and bring it to life with exciting races and deliver an unforgettable experience.

Testing and improving performance
Check for smooth rolling – Start by running marbles through each section to check for bumps, slow spots, or areas where marbles get stuck. Adjust angles, widen curves, and smooth out rough edges to keep the flow consistent.
Enhance speed and flow: If you want faster races, Experiment with steeper slopes or smoother materials like PVC or plastic tubing. Adding barriers along the edges can also help keep marbles on track during sharp turns.
Test Different Marbles – Not all marbles roll the same. Try different sizes, weights, and materials to see which ones perform best. Metal marbles often roll faster, while glass marbles provide better balance for controlled movement.
Fine-tuning tips: Reinforce weak areas with extra support and secure loose connections with tape or glue. A stable and durable track ensures your races stay fun without constant repairs.
Hosting your marble race
Set up race rules – Decide how the races will be scored, such as timed runs, lap counts, or elimination rounds. Clearly mark start and finish lines and create checkpoints if you’re hosting longer races.
Organize tournaments – make it competitive by tracking winners and setting up brackets for multiple rounds. You can even name teams and create leaderboards to keep the excitement high.
Capture the action – Record videos or stream your races online to share with friends and other marble racing fans. Adding commentary or music can make it feel like a professional event.
Celebrate the Fun and Creativity
Building a marble racing track is an exciting way to combine creativity, engineering, and competition. Whether you’re racing for fun or aspiring to create a competitive course, the process is just as rewarding as the race itself.
If you’re curious about the broader world of marble racing, what is marble racing? provides a deep dive into the sport’s history and growing popularity.
So, start planning, get creative, and let the races begin!
FAQ about make a marble racing track
How to make a marble run out of wood?
Use wooden planks or sticks to create the base, ramps, and curves. Glue or nail parts securely and test for balance.
How do you make a marble racing track step by step?
Start by sketching your layout, gather materials like cardboard or foam tubes, build the base and slopes, then test and adjust as needed.
How to build a marble racing track out of cardboard?
Cut ramps and walls from cardboard, tape them to a stable base, and create tunnels and loops using folded strips.

