How to Build a Cardboard Marble Track That Actually Works
Using inexpensive, recyclable materials, a cardboard marble track is a fun, hands-on method for creating your race track. Cardboard is versatile, easy to work with, and ideal for experimenting with unique ideas. In this article, you will learn how to plan your layout, cut and shape track components, test and debug your setup, and add fun features to create a track that works and keeps the marble moving.
Benefits of using cardboard for marble tracks
Cardboard is one of the best materials for making marble tracks, especially if you’re starting or looking for something inexpensive. It’s budget-friendly, readily available, and simple to reuse from cartons, packaging, or craft items. You don’t need anything fancy, just scissors, tape, and imagination.
Cardboard’s flexibility distinguishes it. It can be bent into curves, folded into ramps, or chopped into loops, funnels, and leaps. This makes it ideal for trial and error, which is an important aspect of learning and experimenting with marble track design.
Furthermore, it’s an excellent resource for STEM activities. Hands-on building allows children and adults to experience gravity, momentum, and friction. Whether creating for pleasure, education, or competition, cardboard will enable you to be more creative while staying within your budget.
Tools and materials you’ll need
Before starting to make your cardboard marble track, gather the necessary components. Everything within reach makes the process go more smoothly and enjoyable, especially when inspiration tiles are in the middle of the build.
Basic essential
- Cardboard sheets and boxes are the backbone of the tracks. You can use any sturdy cardboard, such as shipping or cereal boxes. Thicker pieces work well for support, and thinner ones bend better for curves and ramps.
- Scissors and box cutters excel at simple cuts and precision for detailed work. However, ensure kids always have adult supervision while using these tools.
- Tape, glue, and hot glue gun: Tape is fast and easy; masking or duct tape works well. For stronger bonds or 3D structures, a glue stick or hot glue gun can secure tricky sections like ramps or vertical walls.
- A ruler and measuring tape help your track flow smoothly. Straight ramps, even spacing, consistent spacing, and consistent widths make a huge difference.
- You cannot miss marbles. Start marbles in 16mm size are ideal for this type of track. Do not choose too narrow or wide marbles; they will jam or bounce right off.
Optional adds-ons
- Markers, paint, and stickers add flair and personality to your track. Use colors to designate teams, mark start/finish lines, or bring your theme to life.
- Popsicle sticks, straws, paper rolls, or foam boards are great for building rails, tunnels, barriers, and chutes. These lightweight materials are easy to cut and glue, offering creative freedom.
- Small cups, plastic lids, or containers work perfectly as marble catchers, start chutes, or funnel components. You will be surprised how everyday items become valuable features in your design.
Once your gear is ready, move on to the fun part – building the track!
Step-by-step to build the track
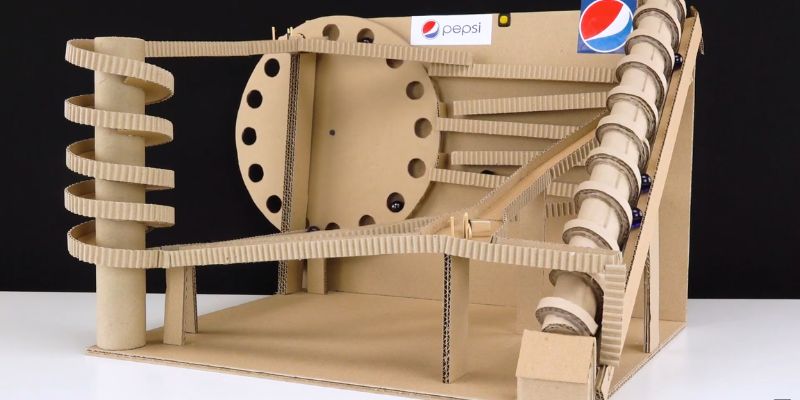
Building a functional cardboard marble track is easier than it sounds—as long as you plan and do it step by step. Here’s how to turn scrap cardboard into a fully functional marble sculpture.
Step 1: Sketch Your Layout
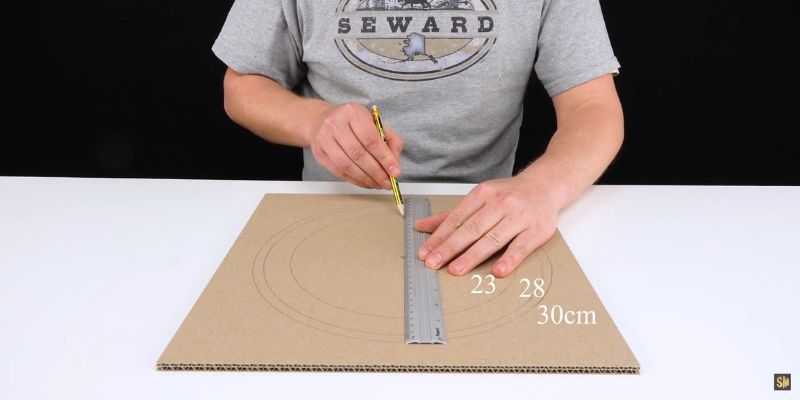
Begin with a simple drawing. Plan the marble’s trip from beginning to end, including slopes, turns, drops, and any other entertaining features you want to include. Determine whether your track will be a simple single-lane or a complex multi-path challenge. Remember the area you’re working in—tabletop, floor, or wall.
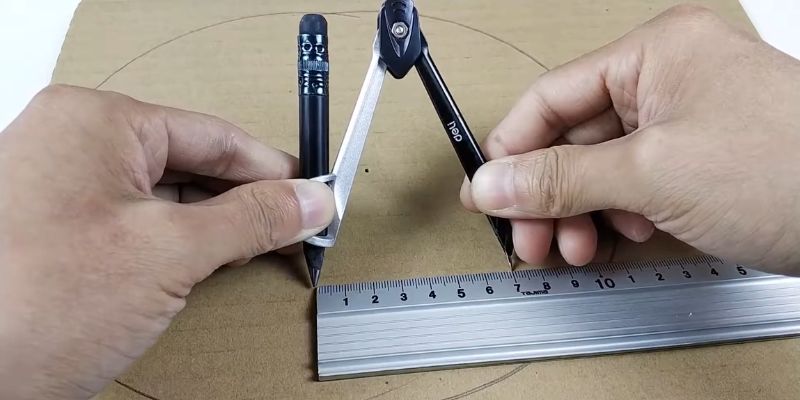
Step 2: Cut and Shape the Track Pieces
Use scissors or a box cutter to cut long cardboard strips for ramps and straight portions. Bend the strips into gentle bends for turning. Toilet paper or paper towel rolls are ideal for chutes and tunnels. To protect marbles from flying off, fold cardboard into solid side walls. Don’t forget to test the width to guarantee a smooth roll.
Step 3: Assemble the Base
Lay down a solid piece of cardboard or foam board as a foundation. Begin connecting ramps and paths with glue or tape. Use extra cardboard pieces as vertical supports, especially if your design incorporates height variations or elevated portions. Keep everything safe and balanced to avoid collapsing in the middle of the race.
Step 4: Add Obstacles and Features
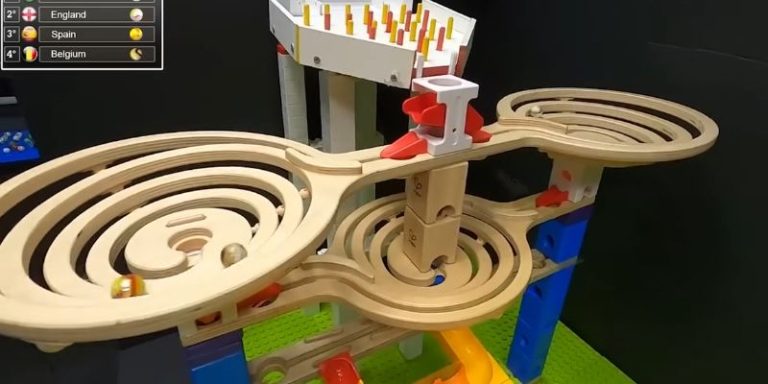
Loops, bumpers, spinning discs, zig-zags, and funnel drops all add a unique touch to your track. Get imaginative with recycled materials—plastic bottle caps, straws, and rubber bands may all be practical features. Just ensure everything allows marbles to move freely without becoming stuck or thrown off course.
Step 5: Build the Starting Gate and Finish Area
A simple elevated drop or a homemade gate mechanism will do the trick for a start. At the end of your track, create a finish zone with a soft catcher—like a small box, cup, or sponge—to gently stop the marble and celebrate its victory.
Now you’re ready to race!
Testing and troubleshooting
Before racing your marbles, make a few test rolls to ensure everything works as planned.
Begin by evaluating the marble flow from top to bottom. Pay close attention—does the marble glide smoothly? Is it too sluggish for flat sections? Does it bounce out of turns or become trapped on obstacles? A decent track should allow for a consistent roll with some speed variation, particularly on hills and curves.
If you find any problems, make adjustments as needed. If marbles become stuck, expand the channel or smooth any rough edges. If they fly off the track, install side barriers or lower the slope. Is it too slow? Increase the descent angle. Is this too fast? Create friction by adding a bumper or narrowing the passage. Also, ensure that your track pieces are correctly aligned and tightly attached—loose parts frequently confuse.
Test, tweak, and test again until every run feels smooth and satisfying.
Tips for a smoother and faster track
If you want your marble to roll smoothly, a few simple adjustments can make all the difference.
First, consider the surface. The cardboard might be scratchy, so line the channels with paper or thin plastic to reduce friction. Even glossy magazine material can help your marbles roll more smoothly. You can also lightly smooth any uneven edges to improve flow.
Next, experiment with elevation. If your marble is crawling, increase the ramp slightly to get momentum. If it’s flying off the track, reduce the slope to regulate the speed. Finding the balance between too quick and too sluggish is critical to a satisfying race.
Finally, keep the decoration practical. Adding color and flair is fun, but keep paint, tape, and props from blocking the track. Allow your imagination to flourish, but don’t let it stop the marbles. Form and function come together when your track looks fantastic and runs smoothly.
Safety and clean-up tips
Safety comes first, especially when children are involved. Always use scissors or box cutters with caution, and for younger builders, ensure that an adult is present to supervise any cutting or hot glue application. A little prudence can go a long way.
Organize your parts neatly when you’re finished building (or want to take a break). Keep track of pieces, marbles, and tools in a labeled box for future reuse or recycling. It promotes sustainability and prevents you from constructing from scratch the following time.
Finally, tidy up as you go. A clean desk prevents lost marbles (literally) and minimizes mishaps. Keeping things tidy on the floor, at a table, or in a classroom enables faster construction, easier testing, and more fun overall.
FAQ about build a cardboard marble track
What are the benefits of using cardboard for a marble run?
It’s affordable, easy to shape, and perfect for learning physics like gravity and friction.
How to make a marble run in a box?
Use a shoe box or carton to build vertical ramps and tunnels inside. Secure parts with glue or tape.
How to make a marble run with paper?
Fold paper strips into ramps and tape them to a base. Create tunnels or curves by curling the paper.
How to make a marble run with toilet roll tubes?
Cut the tubes in half for ramps and connect them with tape. Stack and angle them for height and speed.