DIY Marble Race Track: The Ultimate Guide for Beginners
Building a DIY marble race track is a hands-on, creative project that children and adults alike will enjoy. Whether you’re a child playing with designs, a hobbyist mastering obstacles, or a racer searching for high-speed action, creating your marble run has limitless options.
This guide reviews everything from needed supplies to track layouts, step-by-step building, and expert advice for increasing speed and performance. Prepare to create, race, and experience the thrill of marble racing as never before!
Essential materials and tools
Before creating your DIY marble race track, ensure you have the necessary materials and tools. A well-built track must have a solid foundation, smooth passageways, and imaginative obstacles to keep the race exciting. Here’s everything you’ll need:
Choose the right marbles
The marbles you choose will influence their speed, control, and interaction with your track.
- Glass marbles are the most common and adaptable, providing smooth rolling.
- Ceramic marbles are heavier, resulting in better stability but slightly slower movement.
- Metal marbles – Extremely quick but require a strong track to support their weight.
- Hybrid marbles comprise several materials that allow for various speed and control combinations.
Track Base
Track Base: Choosing the Right Foundation.
Your track base determines both stability and durability. Select from:
- Cardboard – Lightweight and easy to shape, ideal for rapid DIY tracks.
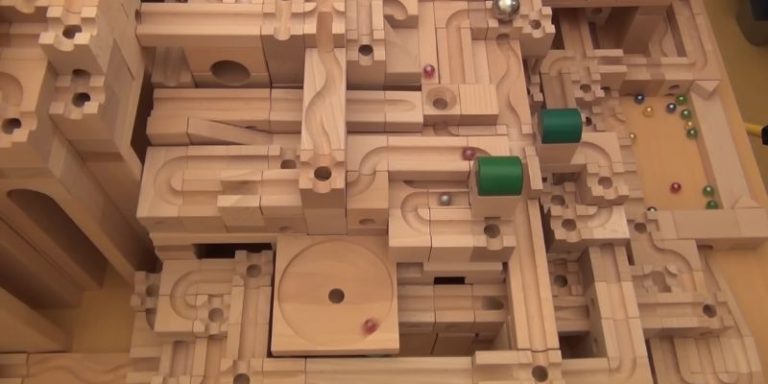
- Wood – Sturdy and long-lasting, suitable for more professional settings.
- Plastic sheets are smooth and fast and are commonly utilized in modular track construction.
- The foam board is flexible and easy to cut, making it excellent for building inventive, multi-level courses.
Track Pieces
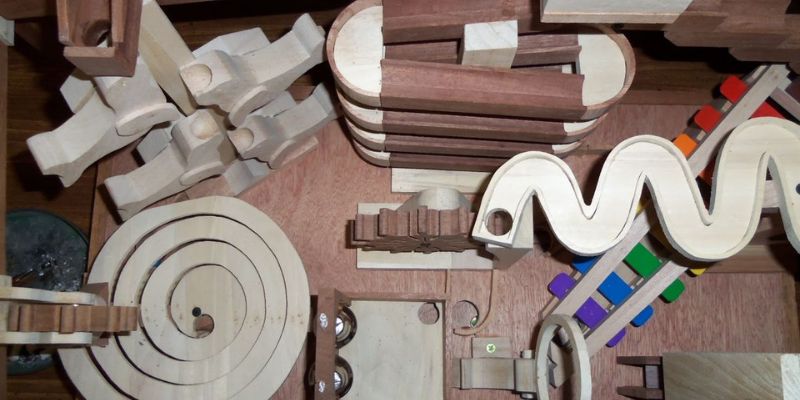
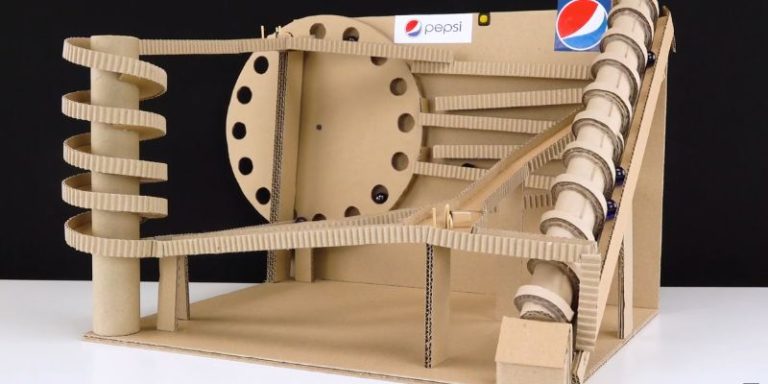
To guide marbles down a track, use paper towels or toilet paper tubes, which are simple, effective, and recyclable.
- Plastic gutters or pipes promote smooth, controlled rolling.
- Flexible tracks, made of rubber or malleable plastic, allow for loops and curves.
- Ramps and chutes add speed and difficulty to your race.
Tools Needed
To build your track, you’ll need a few fundamental tools:
- Scissors or utility knives are used to cut and shape items.
- Tape and glue the track parts together.
- Measuring tools – Ensure proper spacing for smooth movement.
- Decorate with paint, stickers, and markers to add a unique touch.
With these materials and equipment, you can begin designing your dream DIY marble race track!
Planning and designing your track
A fantastic DIY marble race track begins with a good plan. Before constructing, consider how you want your music to appear and perform. Proper design provides a smooth and enjoyable race, from simple layouts to sophisticated multi-level courses. Here’s how to create the ideal track:
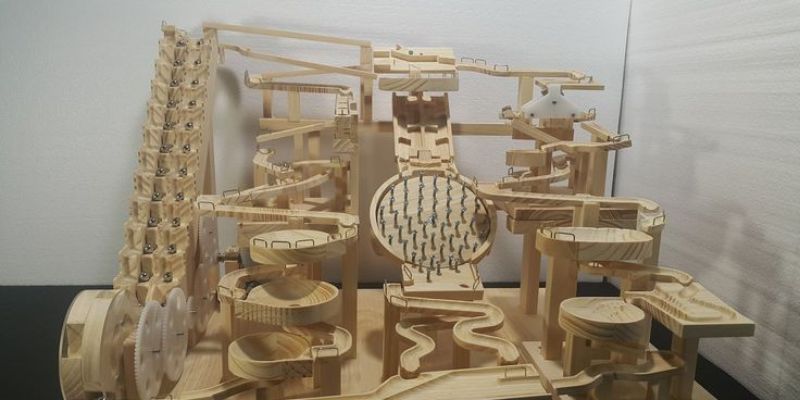
Choosing a Layout
Your track’s layout establishes the tone for the race.
- Simple routes, with straight paths and gentle climbs, are ideal for novices and for learning the fundamentals of marble movement.
- Complex designs may feature loops, spirals, jumps, or multi-level parts for excitement. As the number of features increases, the race becomes increasingly unpredictable!
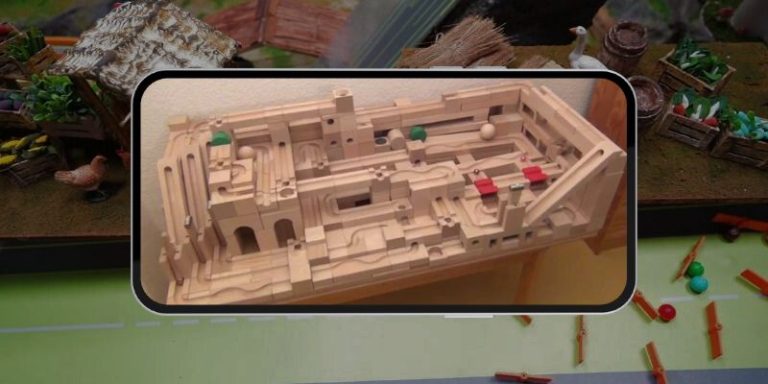
- Modular layouts – If you desire flexibility, construct a track that can be modified to provide limitless, unique race experiences.
Track Length & Difficulty
A well-balanced race requires careful consideration of track length and complexity.
- Short tracks (less than 1 meter) are fast-paced and ideal for rapid races.
- Medium-length tracks (1-3 meters) allow for more freedom with curves and obstacles.
- Long tracks (3+ meters) are ideal for endurance events that require more speed control and momentum.
Add tight corners, steep drops, or obstacles such as spinners and gates to make the course more challenging. A well-balanced circuit has both fast and tricky parts to keep things interesting.
Adding Themes & Visuals
A marble track should have a functional purpose and be visually appealing!
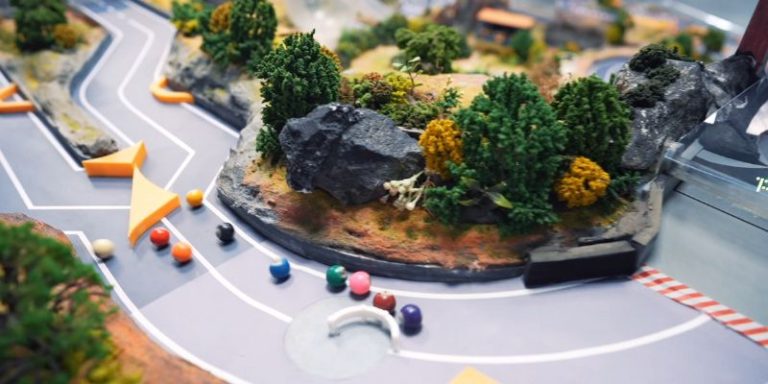
- Choose a theme. A jungle adventure, future sci-fi, or even a winter wonderland might provide a thrill.
- Decorate your track – Bring it to life with paint, markers, and printed backdrops.
- Miniature objects, such as bridges, tunnels, and scenery pieces, can help to increase realism.
Planning your route with speed, challenge, and visuals in mind will result in an unforgettable race experience. Now it’s time to start building!
Building the track: Step-by-step
Now that you’ve selected your layout, it’s time to make your DIY marble race track a reality! Follow these steps to build an intense, entertaining, and well-flowing course.
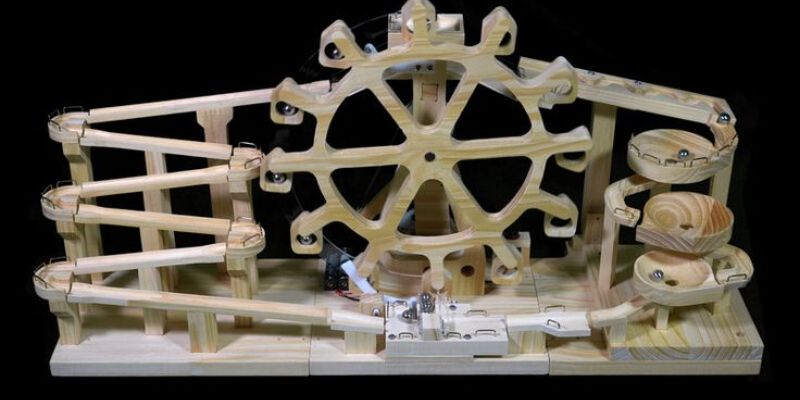
Step 1: Creating the Base
A solid foundation prevents the track from moving or collapsing during races.
- Choose a robust basis such as wood, thick cardboard, foam board, or a massive plastic sheet.
- Secure the base – If necessary, anchor it to a table, floor, or other surface for stability.
- Plan for elevation – If your track has drops or multi-level parts, ensure you have supports such as stacked cardboard, wooden blocks, or books to keep it upright.
A stable base avoids unwanted movement, resulting in fair and enjoyable races.
Step 2: Setting Up the Ramps & Slopes
Ramps and slopes affect how quickly your marbles move and interact with the track.
- Create smooth slopes using tubes, cardboard strips, or plastic gutters.
- Experiment with angles: steeper ramps increase speed, but gentle slopes allow greater control.
- Smooth transitions are essential. Gaps or rough edges cause marbles to slow down or deviate.
For curving tracks, gently bend materials such as flexible plastic or foam board to guide marbles around corners.
Step 3: Adding Obstacles
Obstacles make a course more thrilling and unpredictable.
- Funnels are large cups or bowls that swirl marbles before depositing them into the next portion.
- Jumps are little ramps that send marbles over gaps, adding risk.
- Loops – Create exhilarating loops by cutting curved cardboard or using flexible plastic strips.
- Barriers: Use tape, glue, or side rails to keep marbles on track.
Mixing diverse obstacles produces a race that requires both speed and strategy, making it unexpected and enjoyable.
Step 4: Securing the Track
Without sufficient reinforcement, portions of the track can become loose or break during challenging races.
- To avoid shifting, tape down the joints and connections.
- For a firmer grasp on ramps and obstacles, use hot glue.
- At stress points, reinforce weak regions with additional cardboard, foam, or wood layers.
Once everything is in place, test the track by rolling marbles several times and making any necessary modifications. A robust, well-built track equals longer races and more enjoyment!
Fun variations and challenges
After you’ve made your DIY marble race track, why limit yourself to basic races? Adding inventive changes and difficulties keeps things interesting and entertaining, making each race distinct. Here are some interesting ways to upgrade your track!
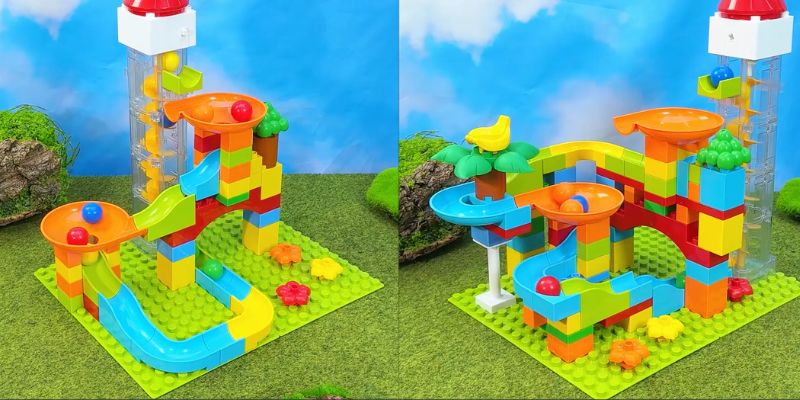
Timed Races – Speed is Everything!
Do you want to see who has the fastest marble? Set up a timed race.
- Use a stopwatch or a digital timer to track each pebble’s pace.
- Adjust the track to make the marbles move faster or slower depending on the surface type and slope.
- Challenge your friends and family to beat the record!
Timed races increase competition and allow you to fine-tune your track for maximum speed and performance.
Obstacle Challenges
Not every race should be about sheer speed; barriers keep things interesting!
- Add bumpers, swinging gates, or spinning wheels to alter typical runs.
- Create parts where marbles must leap gaps, make tight turns, or dodge obstacles.
- Create a randomized challenge where racers roll a die to see which path or obstacle they must take.
The less predictable the race, the more exciting the competition!
Multi-Level Tracks
After you’ve made your DIY marble race track, why limit yourself to basic races? Adding inventive changes and difficulties keeps things interesting and entertaining, making each race distinct. Here are some interesting ways to upgrade your track!
Timed Races
Do you want to see who has the fastest marble? Set up a timed race.
- Use a stopwatch or a digital timer to track each pebble’s pace.
- Adjust the track to make the marbles move faster or slower depending on the surface type and slope.
- Challenge your friends and family to beat the record!
Timed races increase competition and allow you to fine-tune your track for maximum speed and performance.
Obstacle Challenges
Not every race should be about sheer speed; barriers keep things interesting!
- Add bumpers, swinging gates, or spinning wheels to alter typical runs.
- Create parts where marbles must leap gaps, make tight turns, or dodge obstacles.
- Create a randomized challenge where racers roll a die to see which path or obstacle they must take.
The less predictable the race, the more exciting the competition!
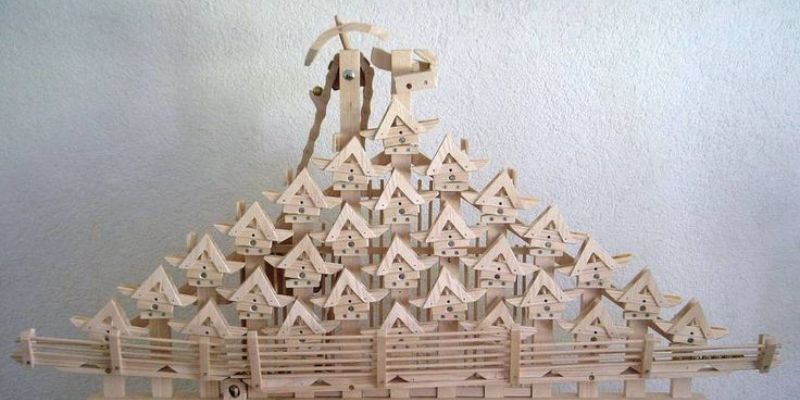
Multi-Level Tracks
A multi-level marble track is the next step toward DIY racing success.
- Create multilayer raceways with unexpected twists by utilizing lifts, bridges, and tunnels.
- Introduce a drop part in which marbles take a different course in the middle of the race.
- Consider a spiral descent for increased speed and spectacular finishes.
A well-designed multi-level course increases strategy and intricacy, making each race feel like a mini-adventure.
Maintaining and storing your DIY marble race track
Building a DIY marble race track is exhilarating, but keeping it in good condition offers endless enjoyment! Proper storage and maintenance help avoid damage, increase durability, and enable future modifications. Here’s how to keep your racetrack in top condition.
Keeping the Track Clean & Preventing Damage
A well-maintained track results in smoother races with fewer issues.
- Dirt and debris can slow marbles down, so clean the track down regularly with a soft cloth or compressed air.
- Keep wood and cardboard away from dampness to prevent warping.
- Check for loose pieces after each race and fix weak locations with glue or tape.
- Store marbles individually to avoid scratches that could slow them down.
A clean and strong track guarantees consistent racing performance every time!
Easy Storage Ideas for Reusable Designs
Need to minimize space while keeping your track intact? Here are a few simple storage solutions:
- Foldable or modular track pieces: If you created your track using detachable sections, put them in labeled crates for easy assembly the next time.
- Wall-mounted racks and shelves: Ideal for keeping lightweight wooden or plastic tracks undamaged off the ground.
- Plastic bins and under-bed storage are perfect for tiny courses, keeping everything organized and ready to compete anytime.
A well-kept track requires less setup time and provides more incredible racing excitement!
How to Upgrade & Modify Your Track Over Time
Do you want to keep your DIY marble track new and exciting? Upgrade it!
- Experiment with different ramps and obstacles to create surprising twists.
- Combine many tracks to create a more extensive layout for longer races.
- Upgrade to smoother, more durable materials to improve performance.
- Introduce electronic timers or automatic gates to make racing more competitive.
FAQ about DIY marble race track
How do I make a DIY marble run wall?
Mount tubes or tracks on a vertical surface using tape or clips to let marbles run down by gravity.
What’s the easiest way to make a marble run?
Use paper towel tubes, cardboard, and tape to create a basic downhill path.
What are some creative marble run ideas?
Spiral drops, themed scenery, jumping ramps, or even glow-in-the-dark tracks.
How do I build a quick and easy marble race track?
Tape tubes or curved cardboard onto a board or box lid. Add ramps for speed.
Where can I find DIY marble race track plans?
Online blogs, YouTube, Pinterest, or STEM education websites offer plenty of templates.
